By myself, I built a large outdoor shed. I documented the process.
How I built an large outdoor shed in 6 months.
-
- 4 min
In May of 2018 I set out to get a “small” lean-to shed for the side of my house. My garage is a 2 1/2 car garage but my tools were starting to take over. During the planning process, I found that my original idea of a 6′ by 4′ shed was not going to be big enough for what I needed. I settled on a 5′ by 16′ idea and started to look around at cost. The prices for something that size was 3 to 4 thousand dollars minimum. It got me thinking, why couldn’t I build it myself?
In Austin, during the summer I get about 4 hours per day (on the weekends) to work before the heat gets unbearable. In total, I built this in about 100 hours. So, in June I started on my journey to build the shed. I realized that in order to prep the area for the shed, I had a couple of obstacles to overcome.
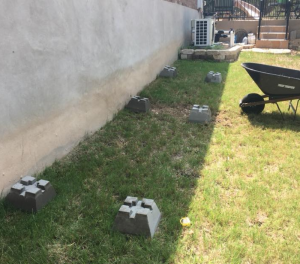
First, I live on a pretty steep incline so the foundation of the shed was going to have to be leveled out. Hindsight, I should have built a retaining wall around the base. But instead I opted for building on level stone blocks.
Started June 3rd, 2018
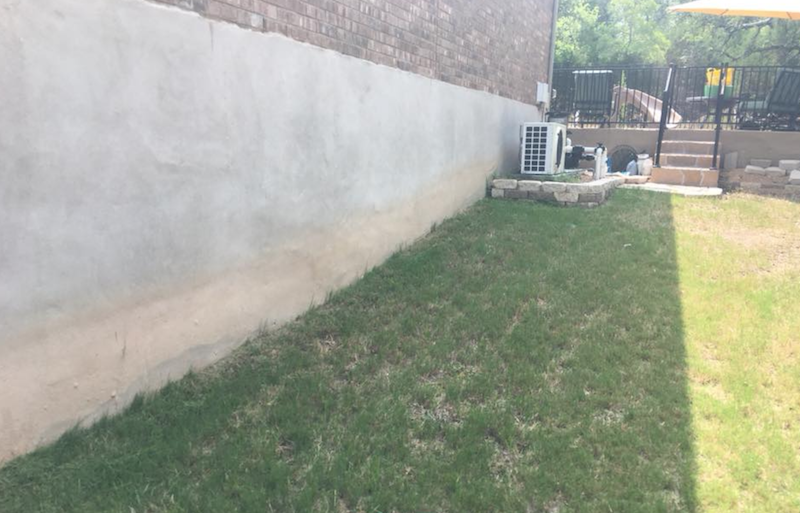
The second major foundation item was rerouting my sprinkler heads to outside the foundation area.
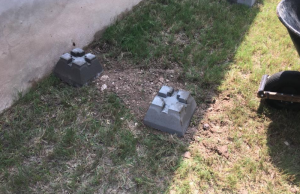
So, I dug up the sprinkler heads and moved them outside the area of the shed. I also laid the stone blocks and leveled them as well.
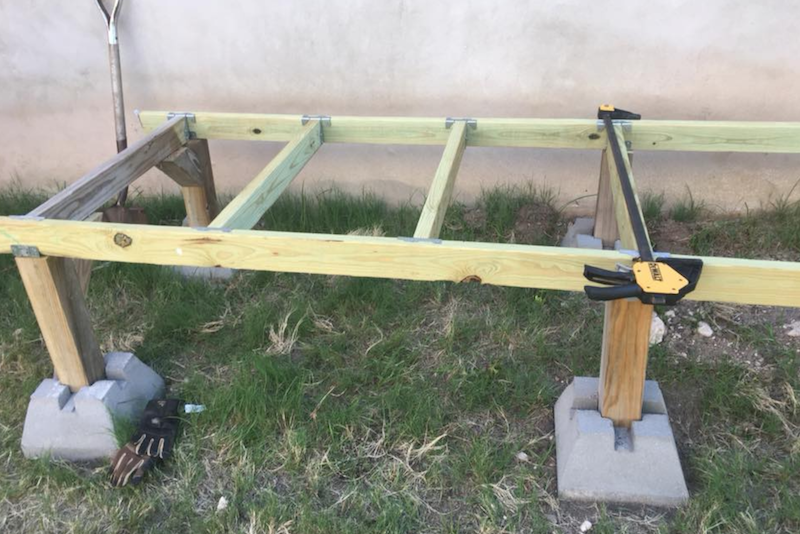
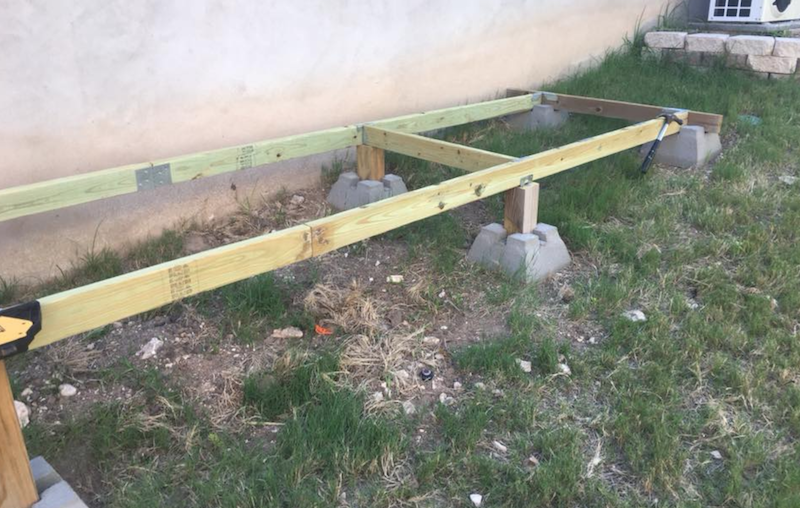
Using 4x4s, i built the posts that the shed will rest on. Each of the 4x4s had to be cut at different heights to account for the incline.
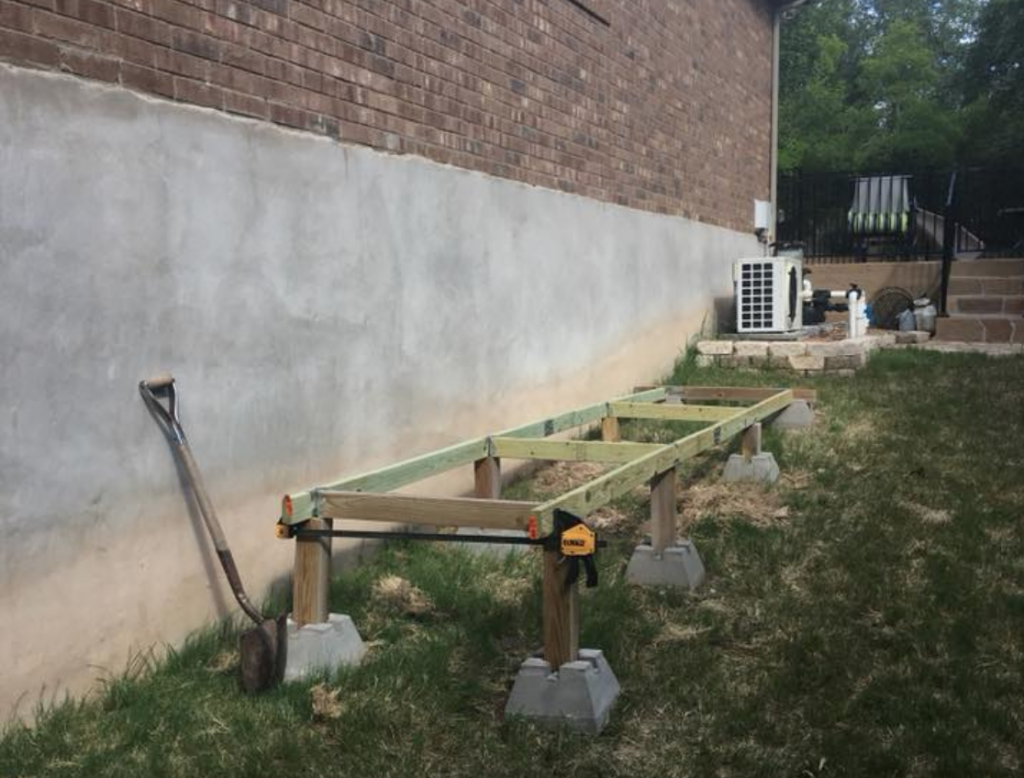
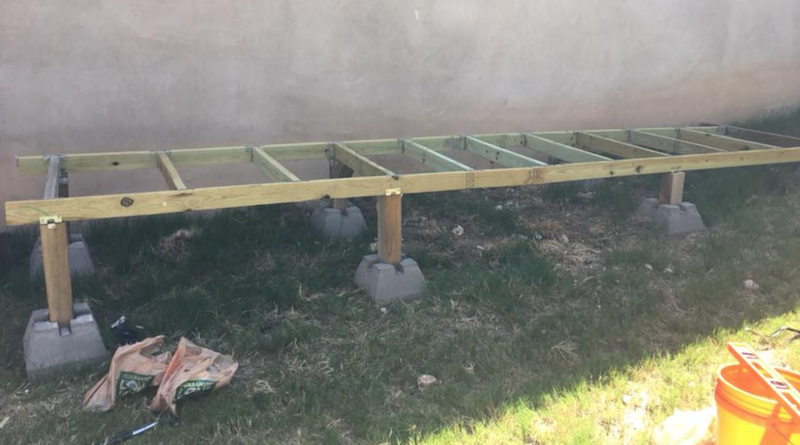
I used hurricane ties and 2×4 clips to set the cross braces in the floor. On the highest side, i also used 4×4’s cut at angles to add additional stability. Where i realized the most benefit from this was after the flooring was down. The frame and floor had zero side to side movement.
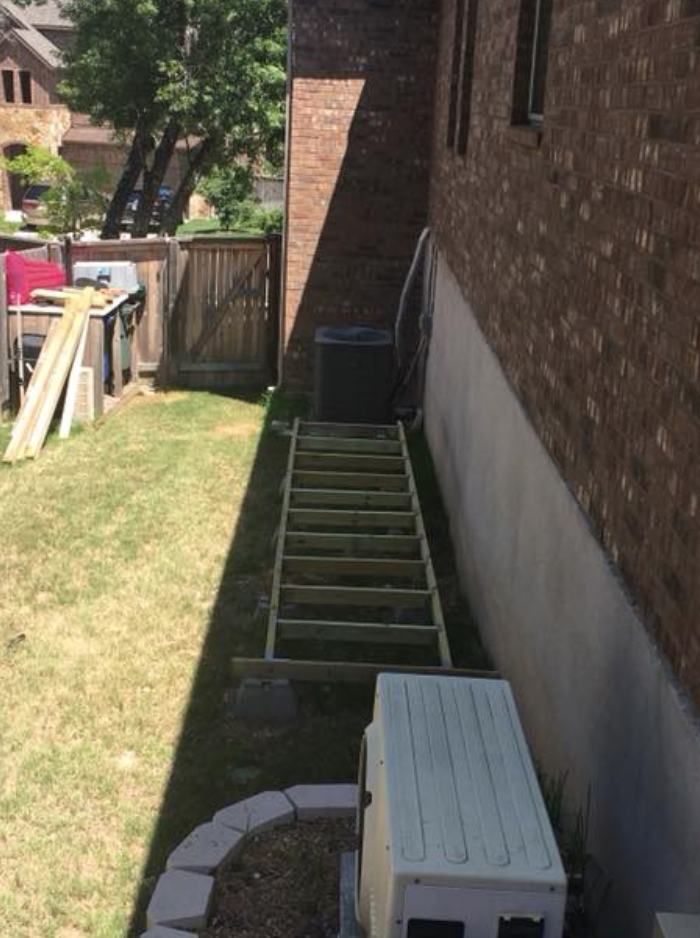
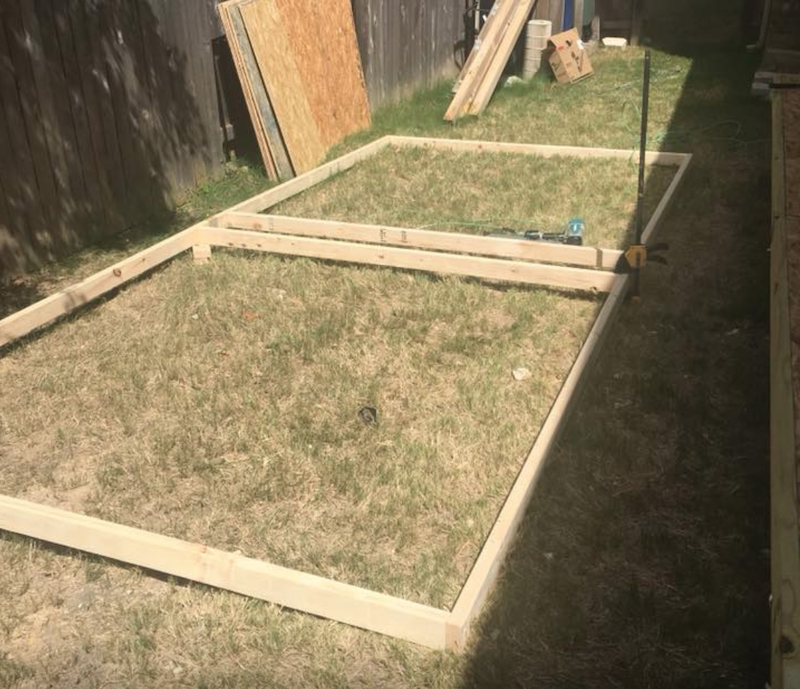
The finished 16′ x 5′ platform is level and secure with appropriate spacing and the sprinkler heads are moved. This is the most important step in the process, if this is not level and square, the shed will not be safe and sturdy.
Another important component for code is to keep at least 1 foot of space from the house. Even though this shed will not have electricity run to it, keeping that space is important.
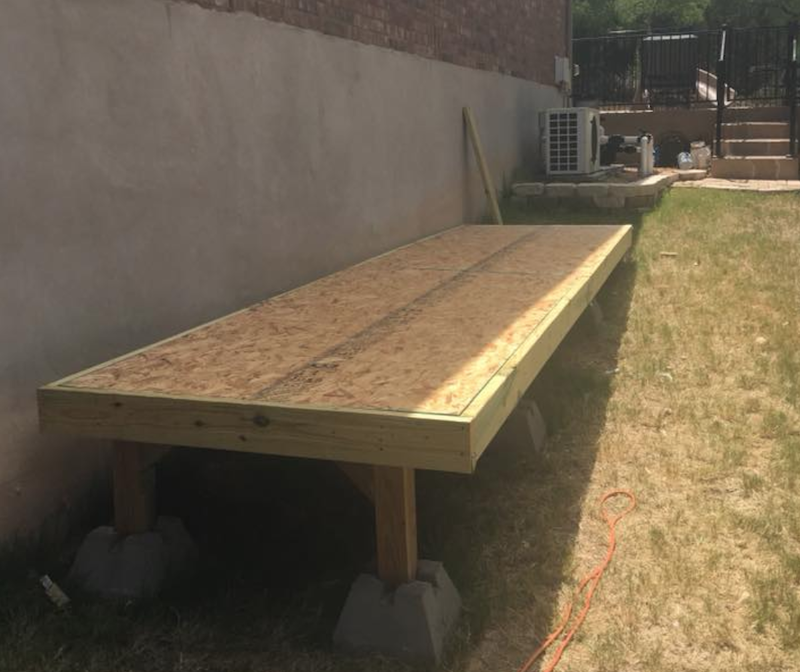
Next thing to do is to lay the platform decking for the floor and frame around the sides of the floor. This didn’t take too long.
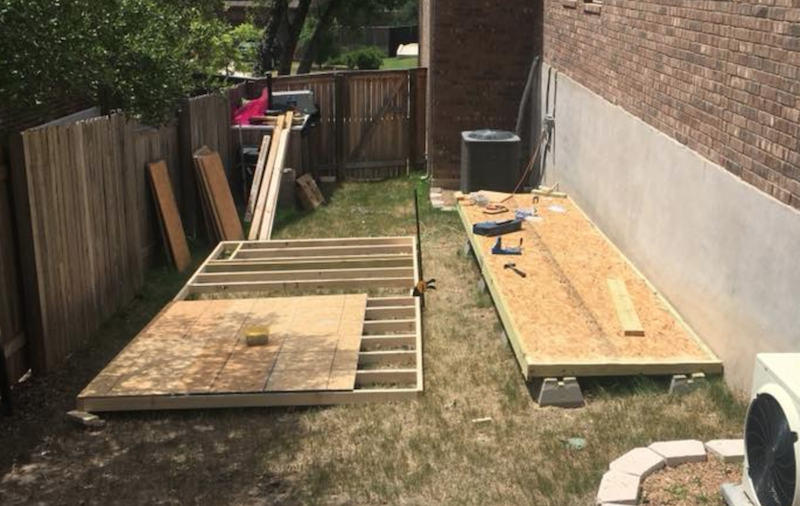
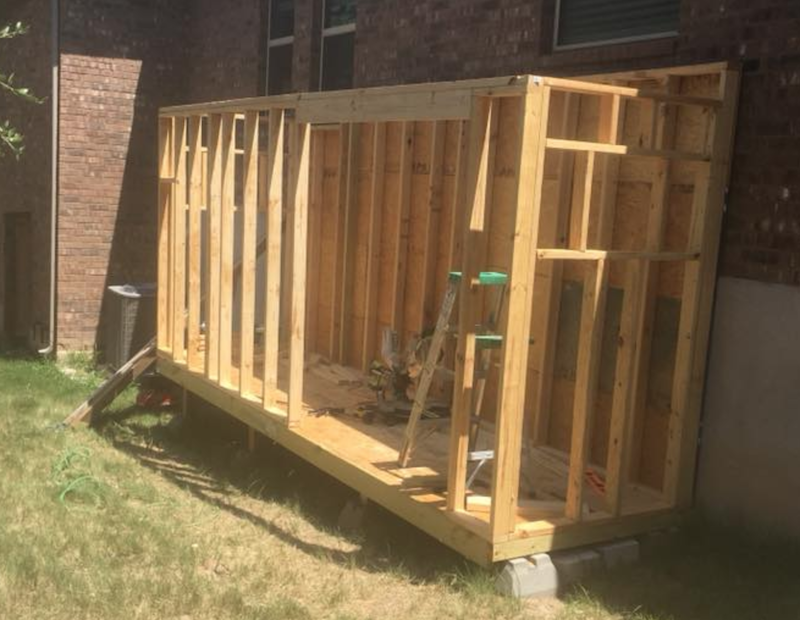
The hardest part of all of this project was framing out the walls by myself. Building them and raising them took some ingenuity since I decided I was going it alone on this project. I was lucky I had enough space next to the shed location to build the walls.
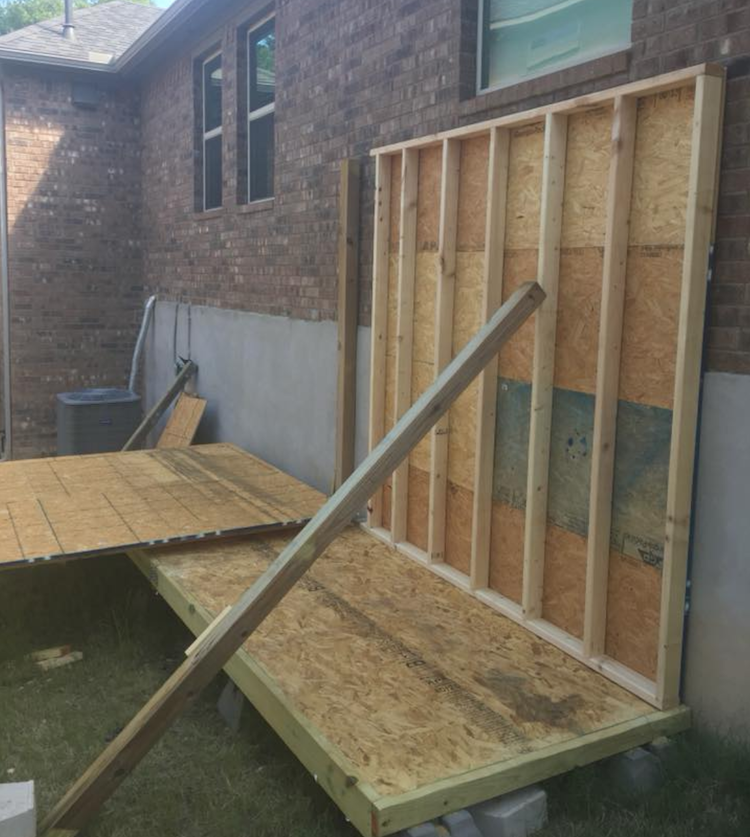
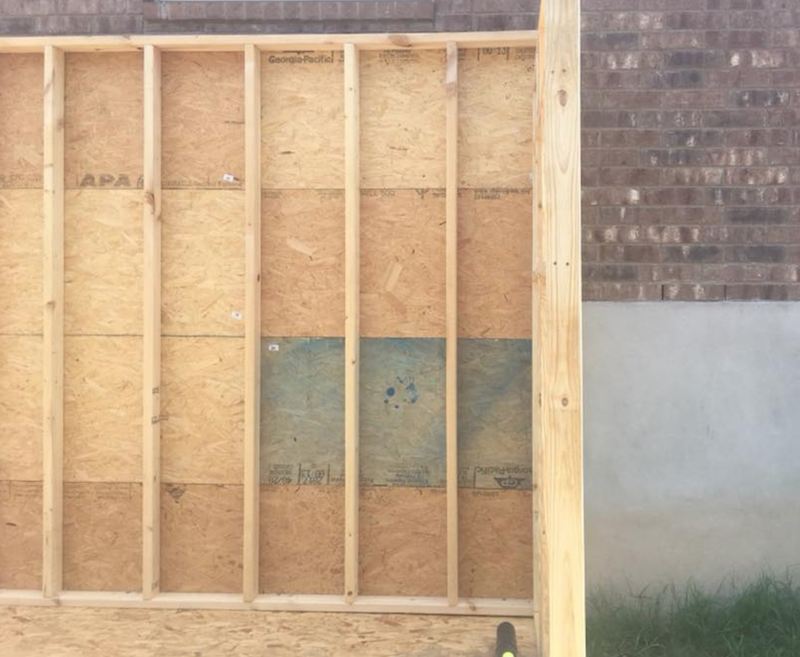
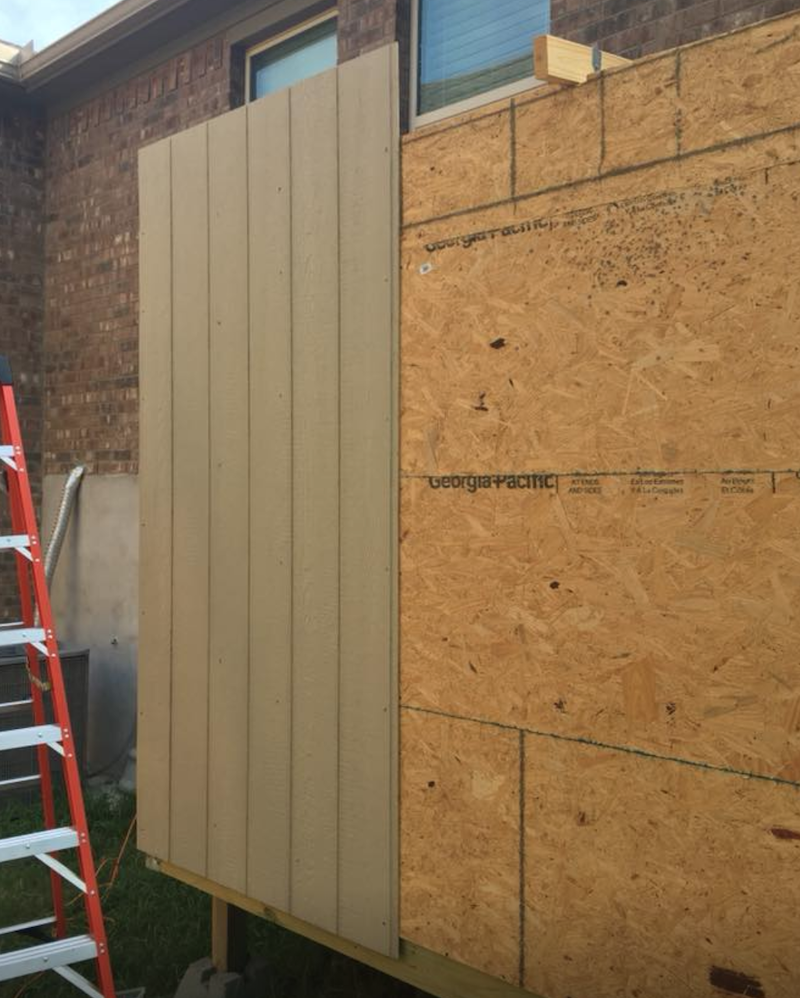
First I built the back wall and had to put all the plywood on it before i raised it since it was up against the house.
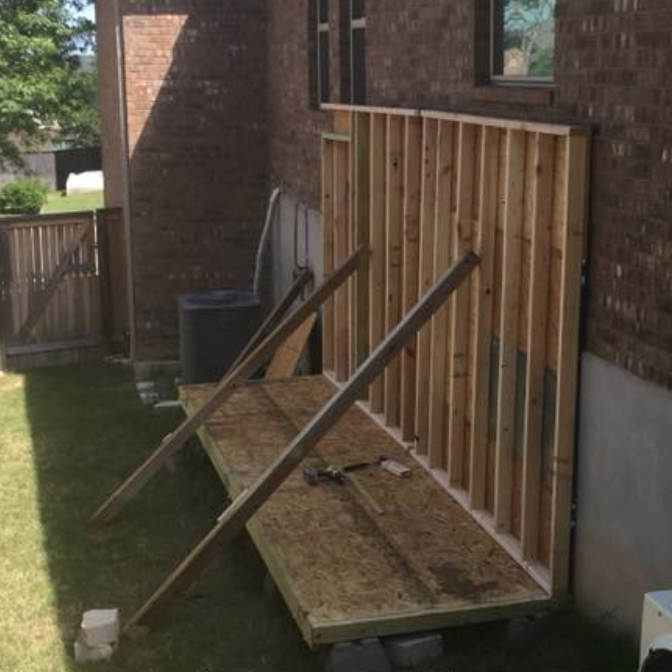
Once that was done, the hard part was getting this all up on the foundation and raising it in place (and securing it so i could use large bolts to secure it to the floor. I quickly realized that I had to cut the wall in half and raise each side separately if I were going to do it alone.
After both walls were secured, I was feeling pretty good about the progress. Elapsed time, 6 weeks.
July 14th, 2018
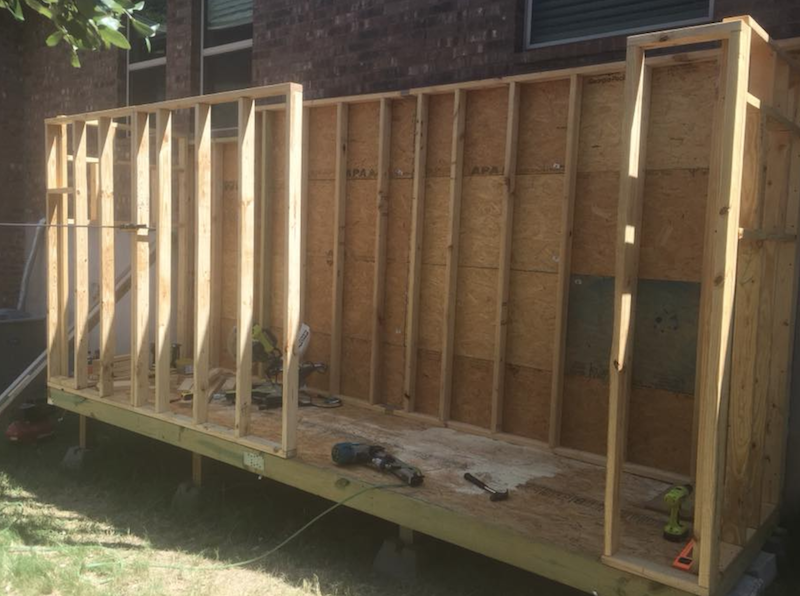
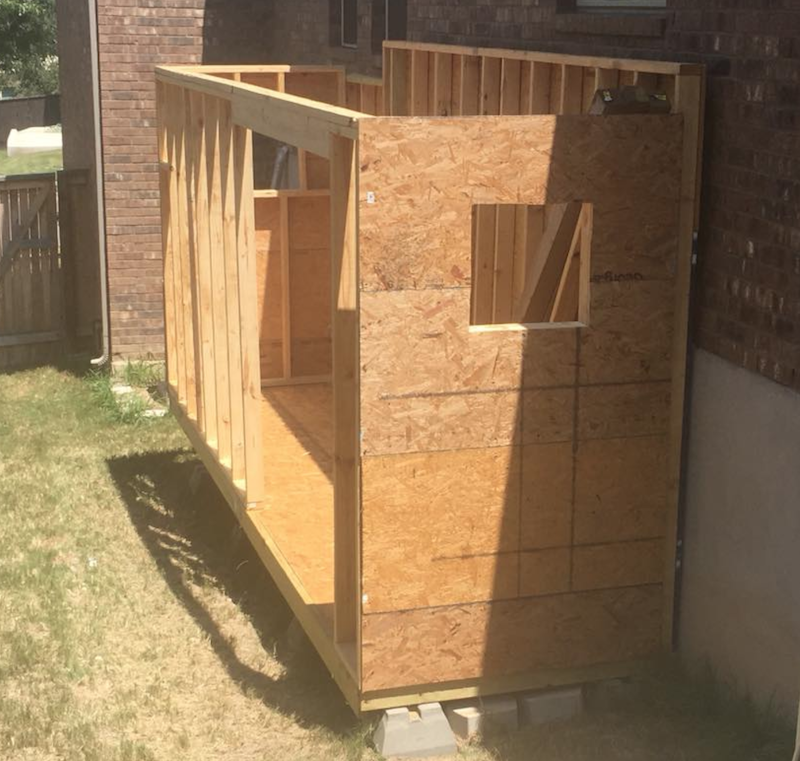
After the back wall up, had to then move on to the side walls. I looked online and found some tutorials on framing out windows to make sure that I accounted for that. Once the side walls were framed and raised, I double checked that everything was square.
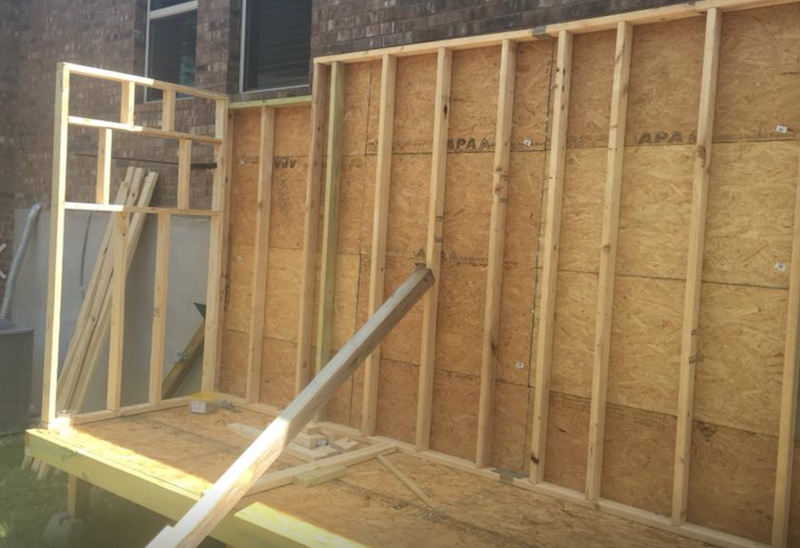
A week later on July 21, 2018 I had both side walls up and secure:
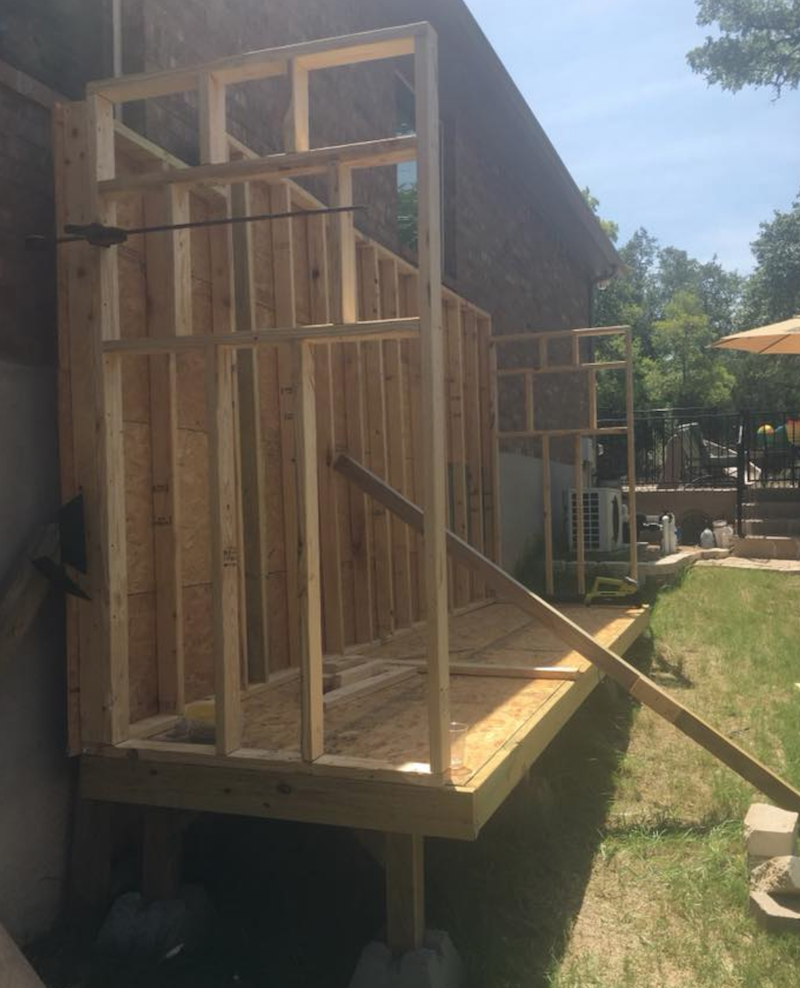
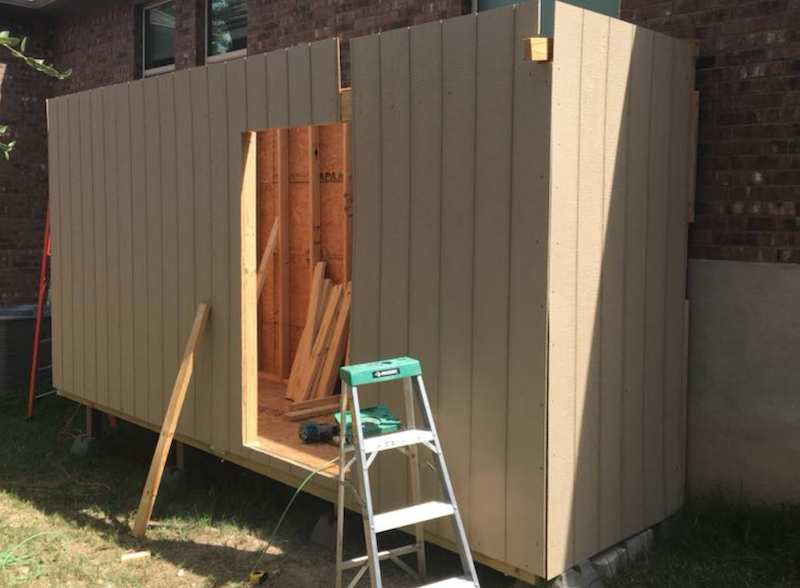
Another week later, I was able to build the front wall. I built in 3 pieces and then connected them over the door using a 2×6 for the header. I will be putting in a 12 foot sliding barn door as well.
Next up, covering the side walls and preparing to put the roof on.
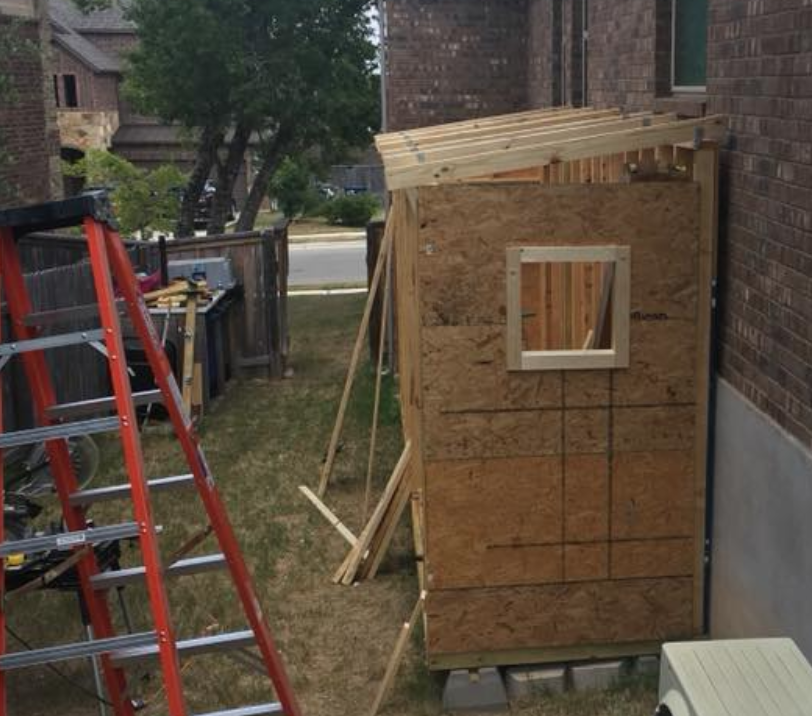
At this point, i had to watch quite a few youtube videos on how to build a roof.Once I settled on a single pitch roof sloping away from the house, I put them up using hurricane clips. If i had to do it all again, I would have made the spacers match the side walls so it would be easier to secure them. But so far so good.
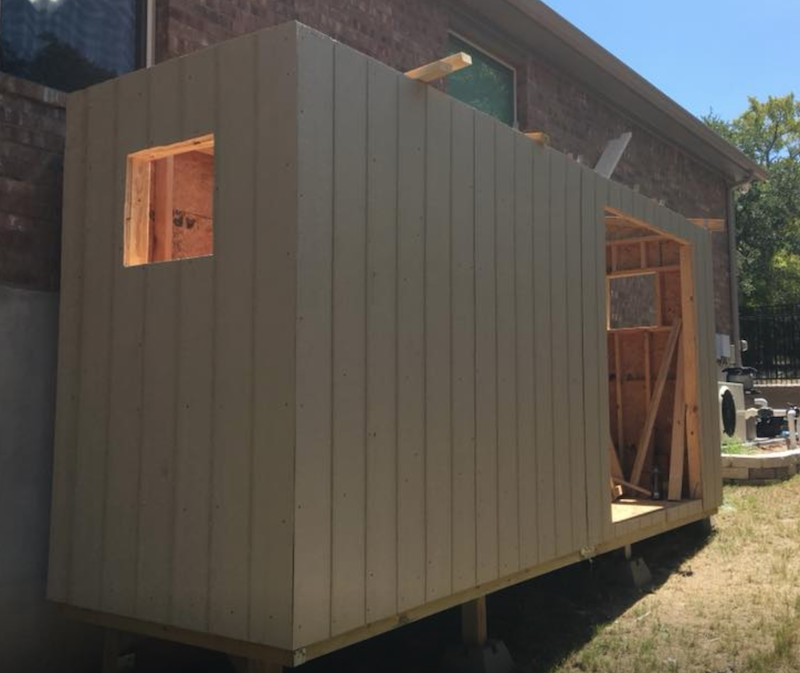
By August 11, 2018 I was able to get all the walls covered and the roof frame complete. Getting the panels on wasnt bad at all. I used attic decking and the pieces fit together with a tongue and groove style. for all the panels all the way around, i used 3 inch screws into the studs.
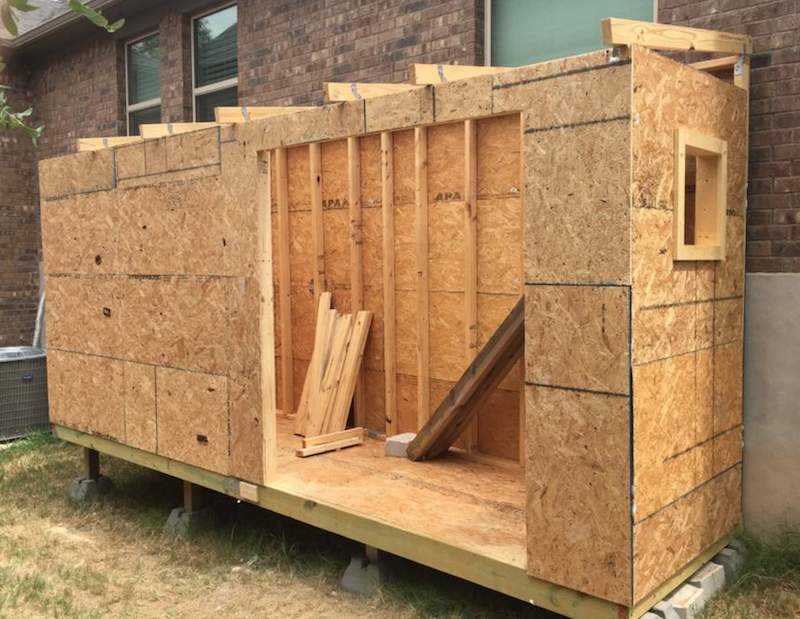
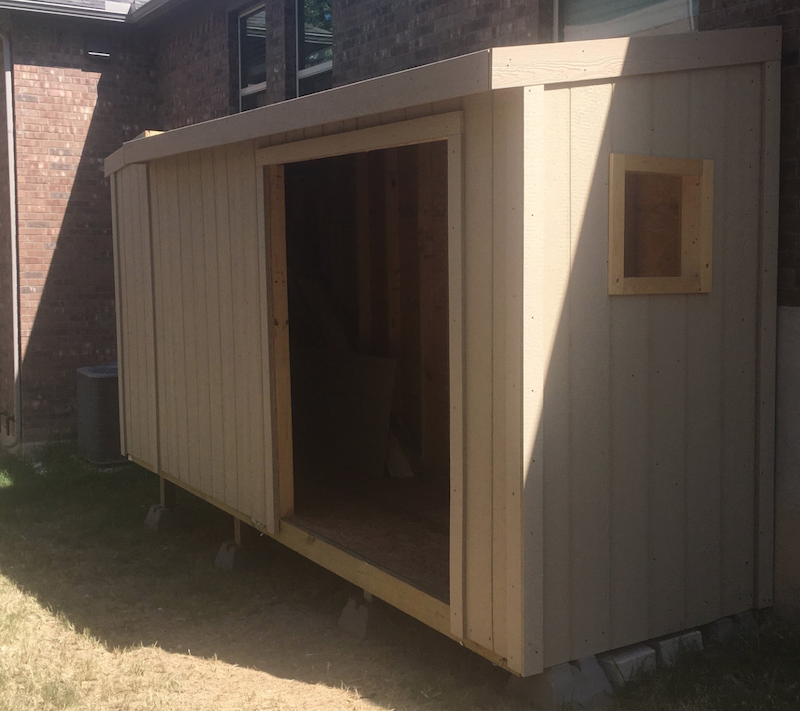
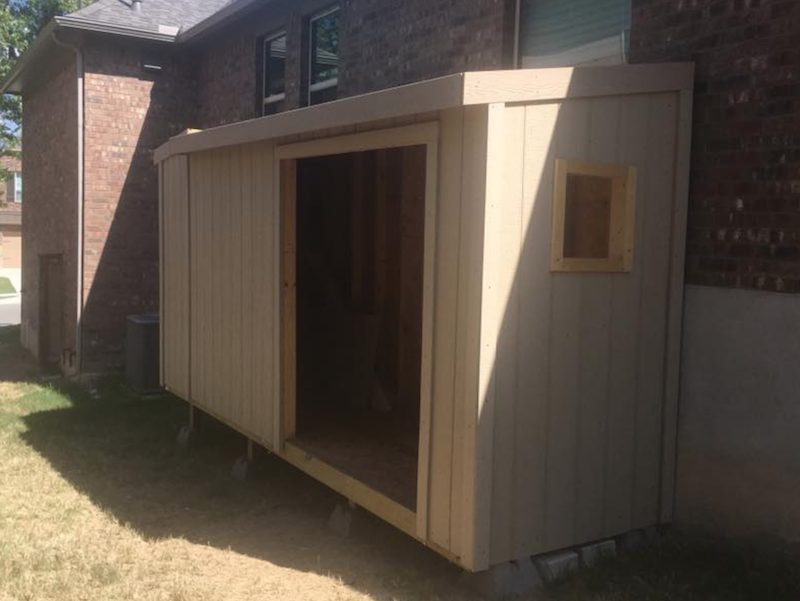
Once all that was done, I decided that siding was next. I had it delivered from home depot. Worth the $79 delivery fee. It was meant to be painted but the stock color was perfect as-is.
Started on one side and worked my way around. I made sure that at the bootom, i added 3 inches overlap to make sure rain didn’t get into the lower decking.
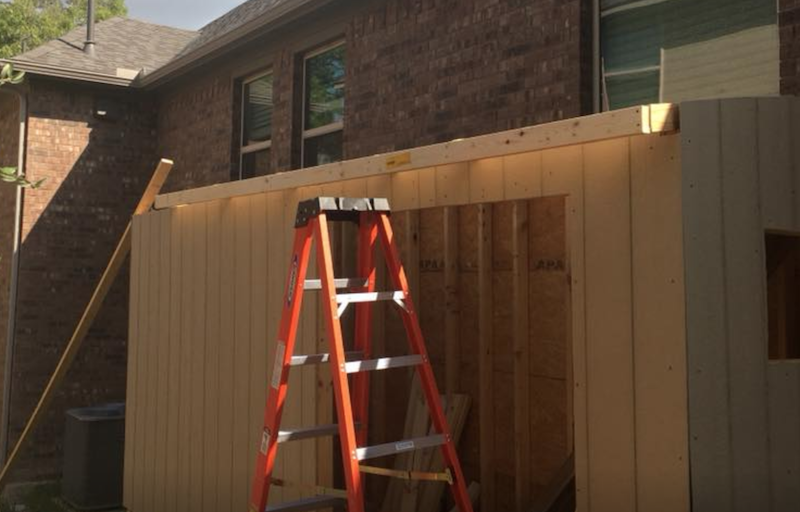
Using a saw, cut the tops off evenly.
Then I added a board to the overhang of the fascia.
August 25, 2018
Starting on the roof was next. I laid the same underlayment across the top being sure to overhang the back by an inch or so.

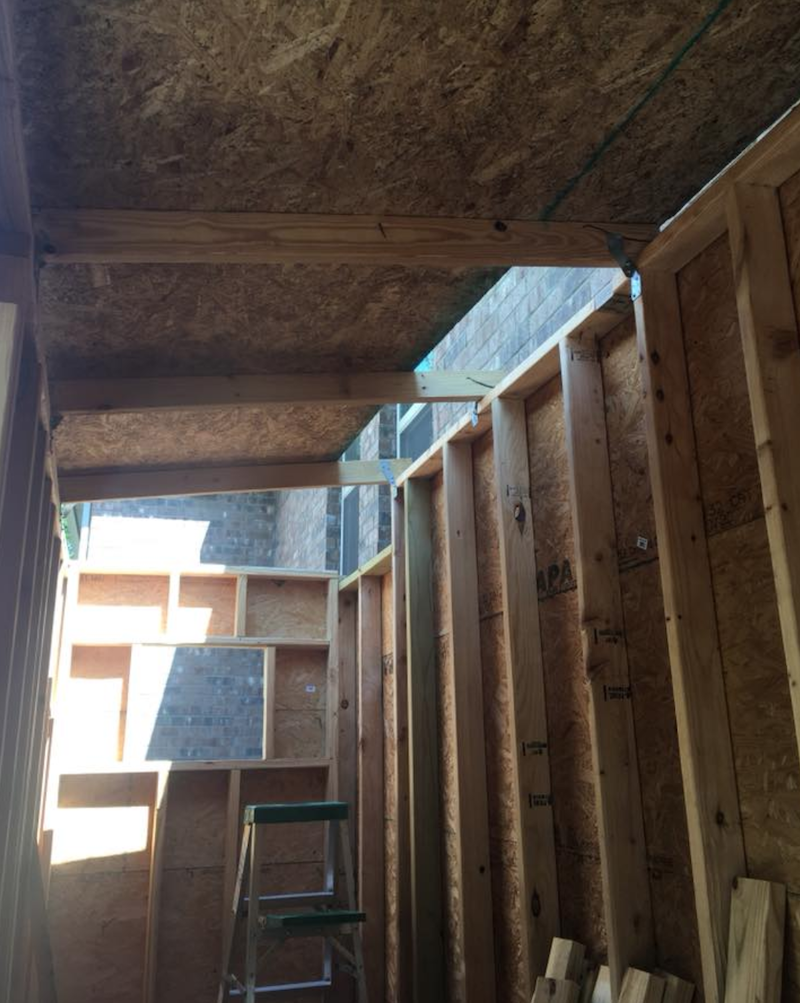
It was nice to finally get some shade to work inside. Here is a shot of the inside while working on the roof.
I added the trim boards and its looking like a finished shed.
September 19, 2018
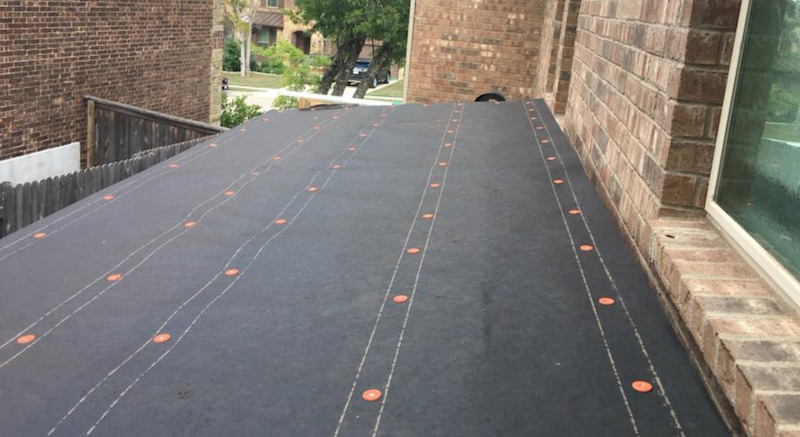
On to the roof. I have never done one before so it was interesting. On top of the roof deck, I put down roof paper as an underlayment. It is supposed to help with moisture. It was surprisingly simple to roll the paper.
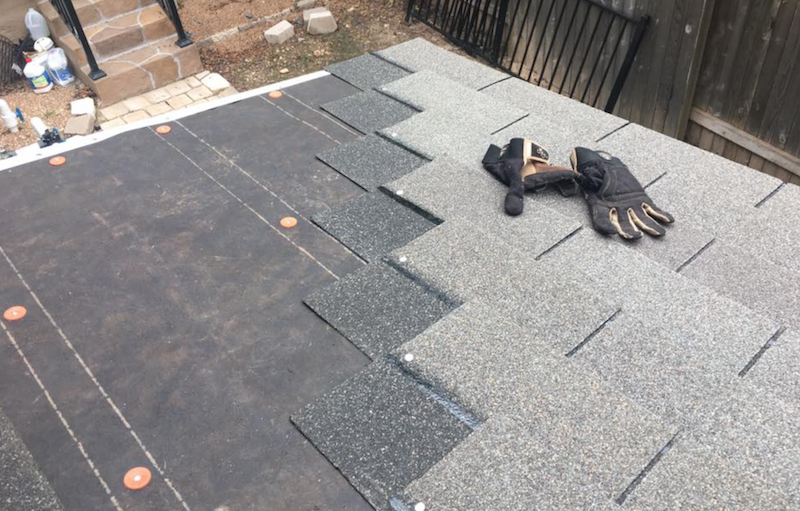
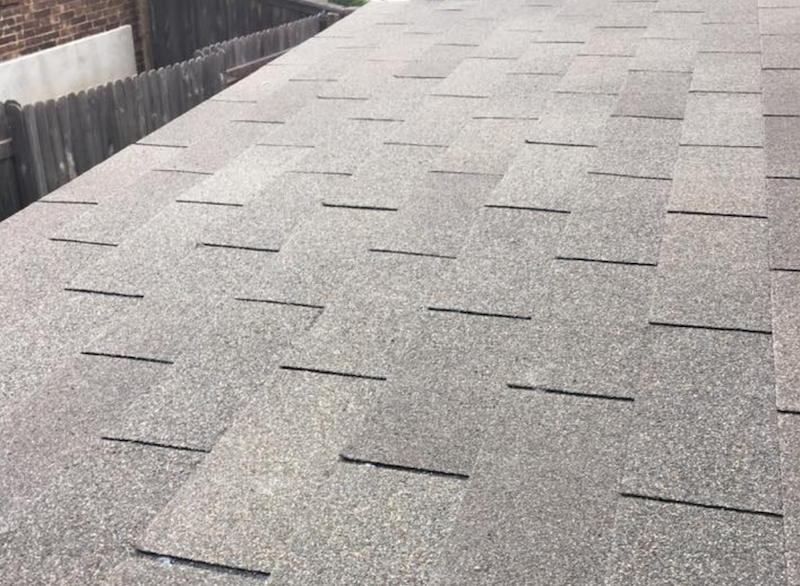
Once the roof paper was down, I started on the shingles. Laying it down in a staggered pattern. It was important to buy all the shingles at one time to make sure they all match. Also, I let the excess hang over the edge and cut off with a sharp blade.
And done…
October 6, 2018
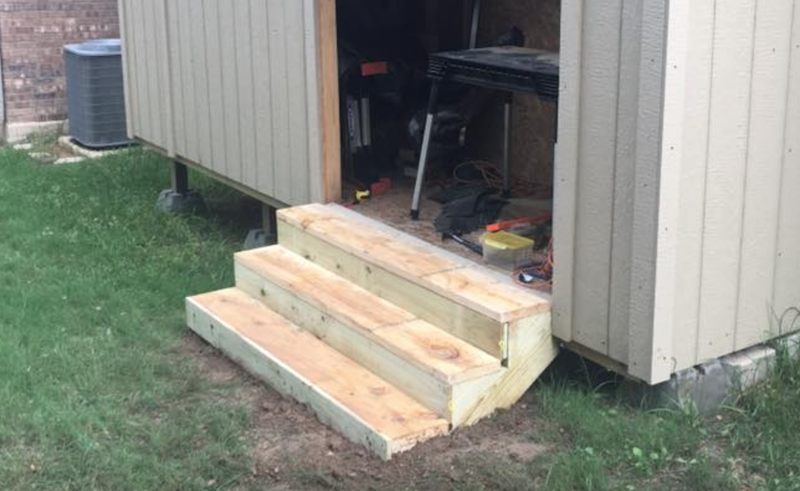
Once the shed was shingled, i decided to add some stairs to make getting in easier. It is all built on an incline so it was necessary.
December 24, 2018
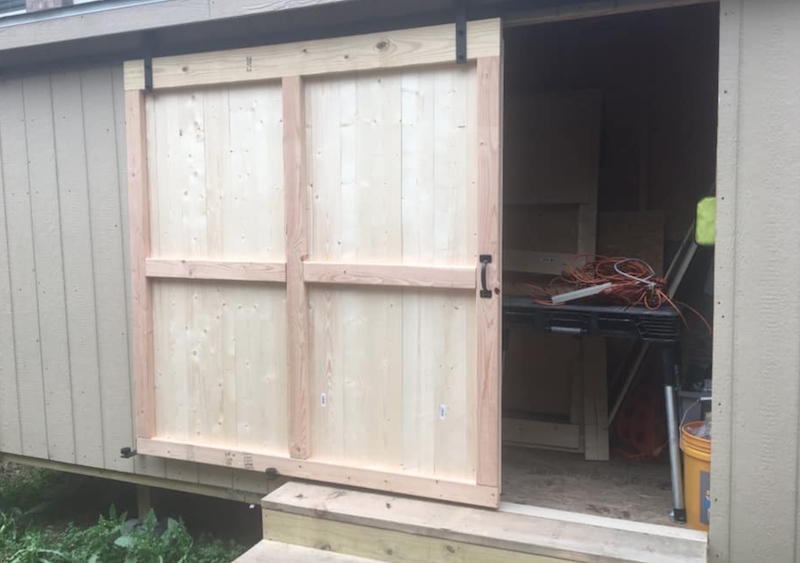
Took a few months but finally got around to building the sliding barn door for the shed. I bought the 12 foot hardware on Amazon and installed the track. The door itself was just a 2×6 (top) and some 2x4s for the sides. Then I screwed 1x6s across the frame.
The cost was significantly less than the quotes or pre-fab. I also learned a lot. Im now prepared for the zombie apocalypse.
Update: (6/2/2020)
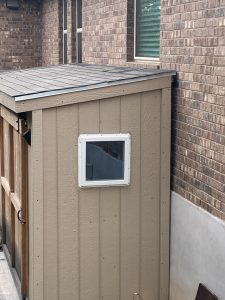
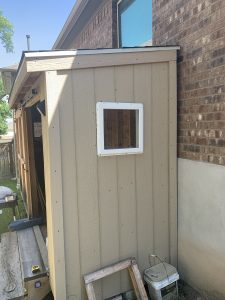
Finally adding windows.