In the many years I have been a website developer, I have learned many things. Some to make my job easier, but also process. In this article, I will give…

Web Techniques: Launch a WordPress Site (Start to Finish)
-
- 0 Comments
- 3 min
In the many years I have been a website developer, I have learned many things. Some to make my job easier, but also process. In this article, I will give you step by step instructions on how to build and launch a website from start to finish.
Tools Used:
Difficulty: Low to Med
Create Github account
Go to github.com and create an account. Remember your username and password.
Create a PagodaBox account
Go to Pagodabox.io and create an account. I believe that you can attach it to the github account you created in step 1.
Download WordPress
First, download a copy of the latest version of WordPress. The basic WordPress install gives you everything you need to run a website with the WordPress CMS (Content Management System).
Create an app
In order for you to have something visible on the web, you need to have space reserved. Pagodabox.io gives you an easy way to get affordable and scalable space for your site.
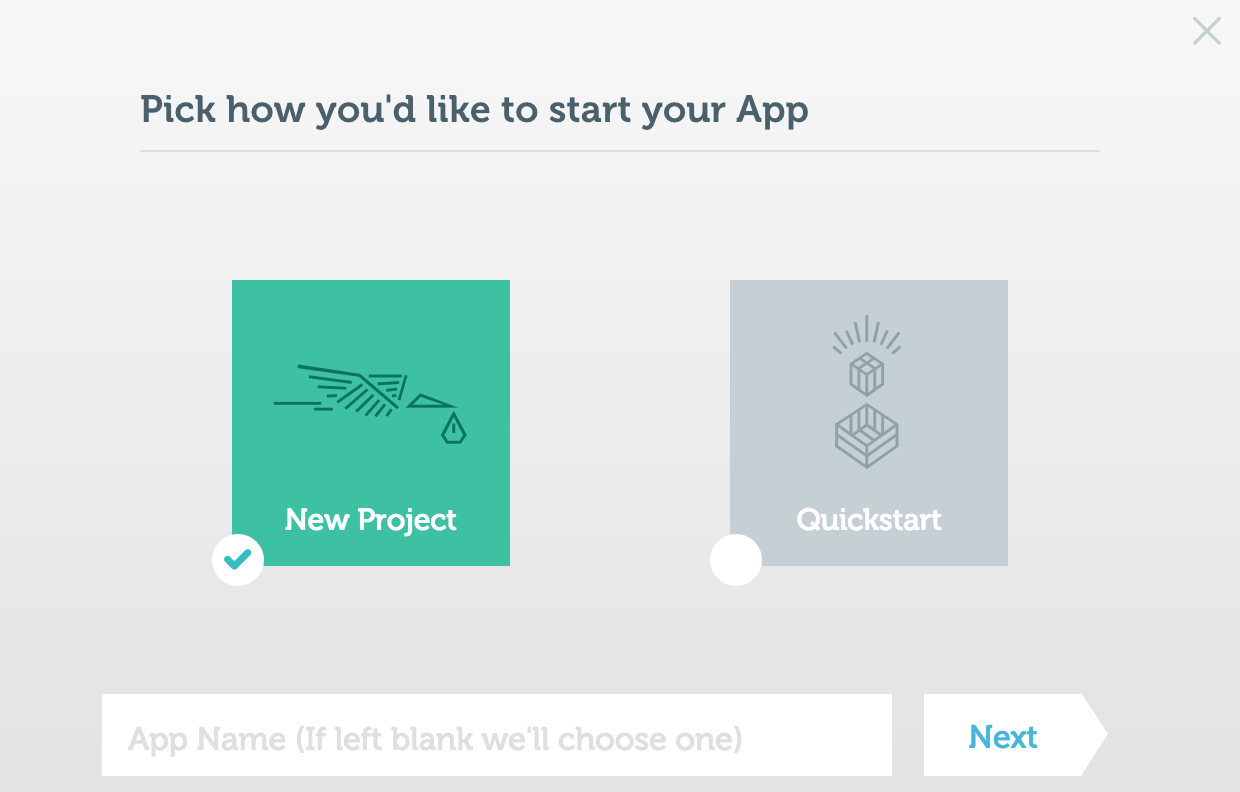
1. After you login, click the “Launch New App” button.

2. Select “New Project” and give your app a name. This will be the initial name of your domain as well. If you enter myapp in the name box, your app will be myapp.pagodabox.io (you can add a custom domain later).
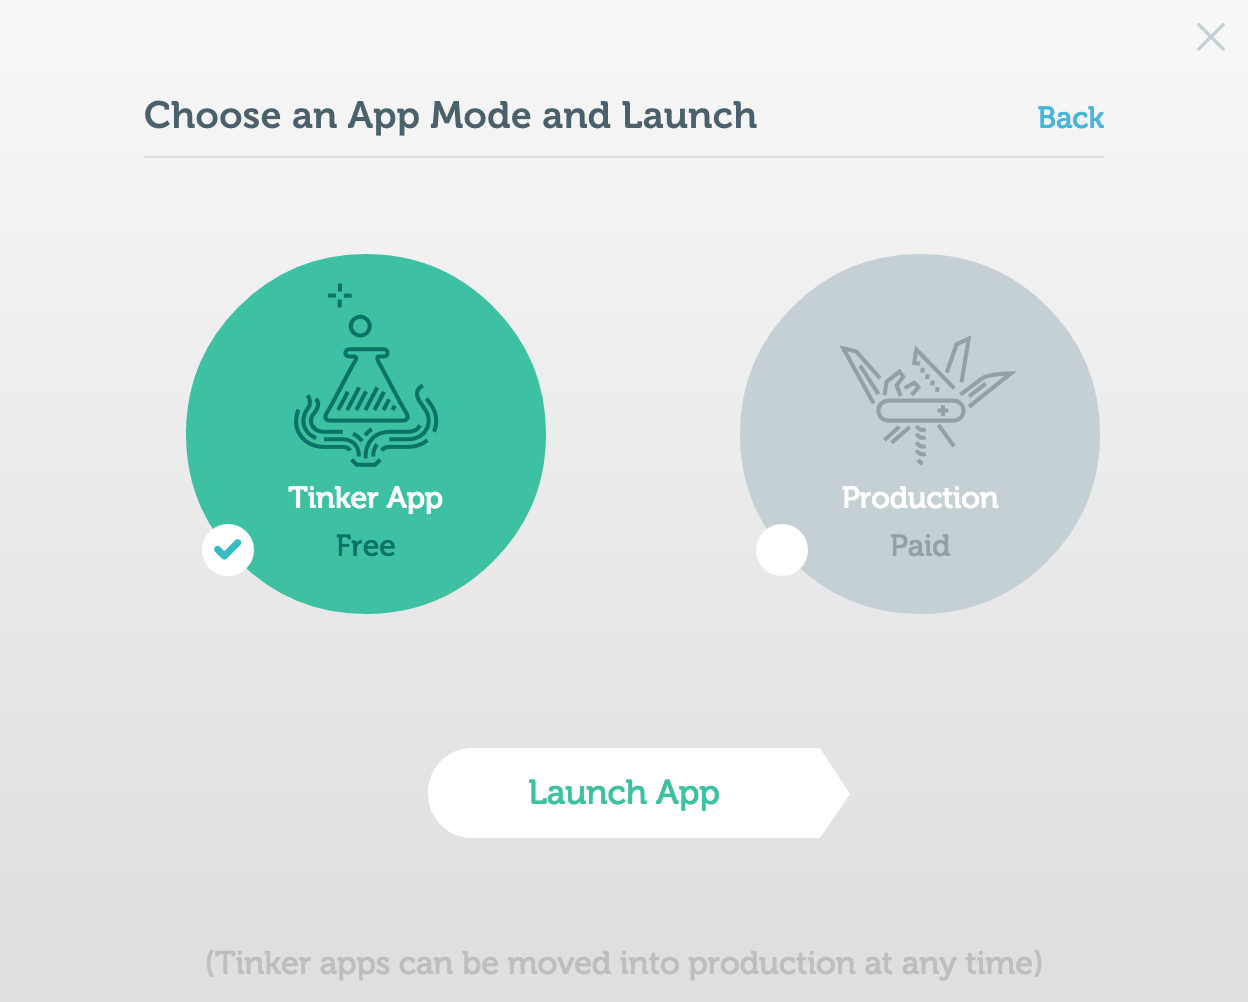
3. Pagodabox gives you a choice of “Tinker” apps (Up to 3 free) or “Production” apps (Paid). Select the type of app you want to create and click “Launch App”.
Add your Public SSH Key to PagodaBox
SSH Keys are tricky. Luckily, Pagodabox has some great tutorials on adding SSH keys. If you have trouble, reach out to a developer and they can help you.
Setup Git on MAC
Setup Git on Windows
After you get your key, you need to add it to your account in pagodabox. This is how authentication is done when you push files up to the pagodabox servers.
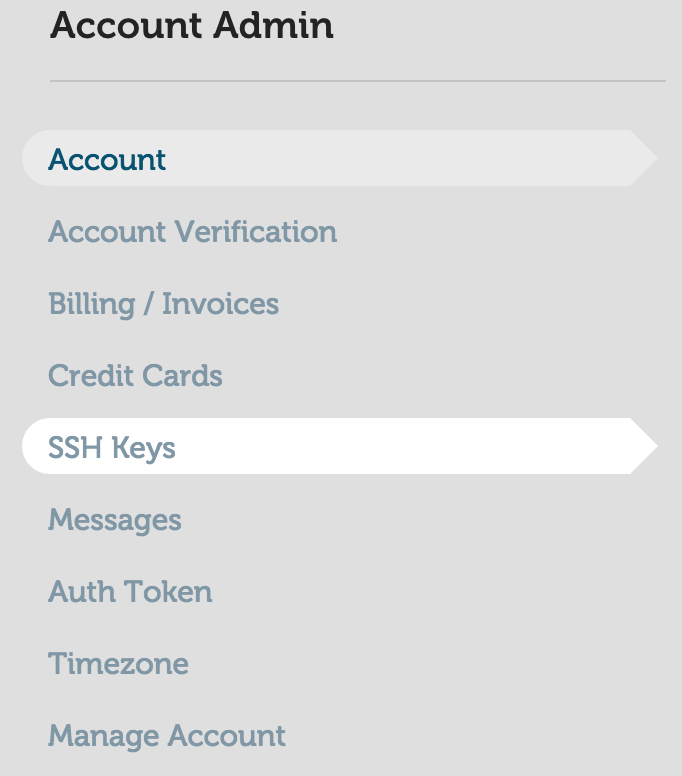
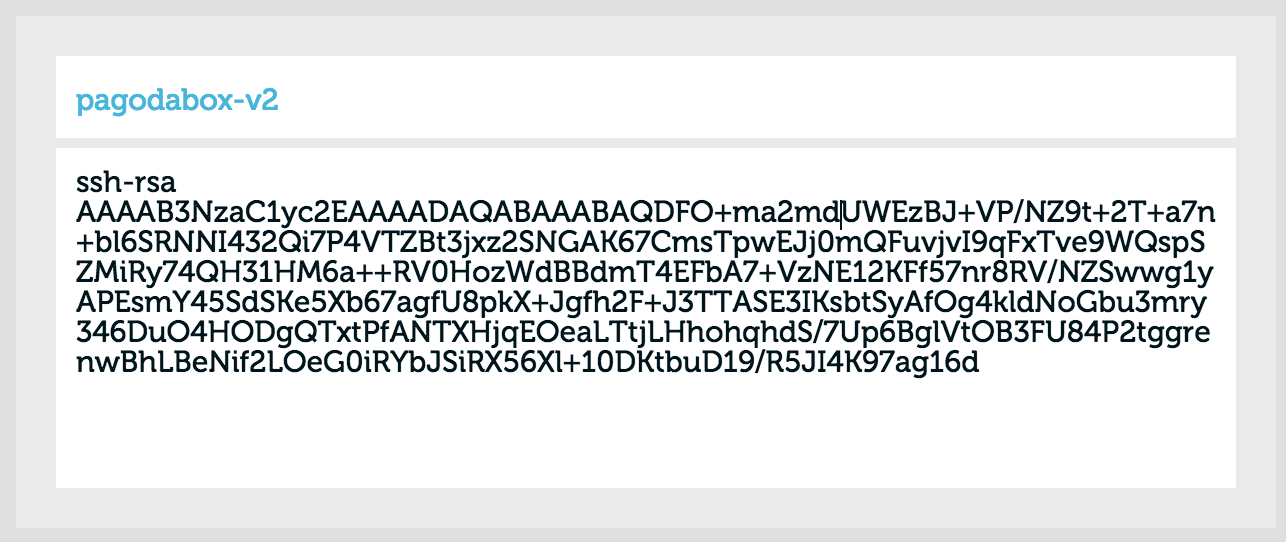
Add your key in the box. Give it a name. I call mine “pagodabox-v2” but you can call it whatever.
Once you have that completed, you are through the most difficult part of the process. For any app you add now, you have authority to push code to it. Now is where the fun starts.
Use SourceTree to connect to Pagodabox
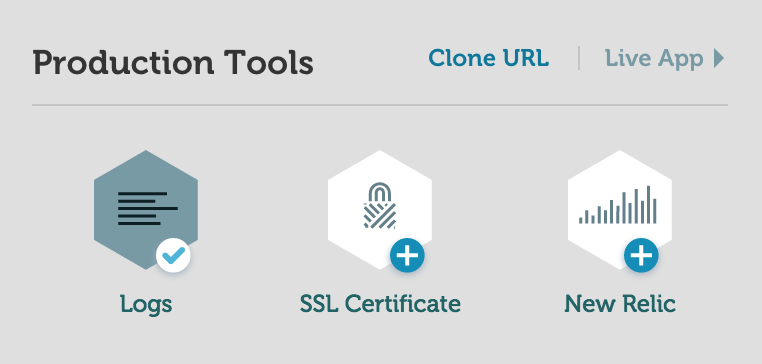
Before you connect to Sourcetree, go to the app in pagodabox.io. Once you are in the app, click “Clone URL”.
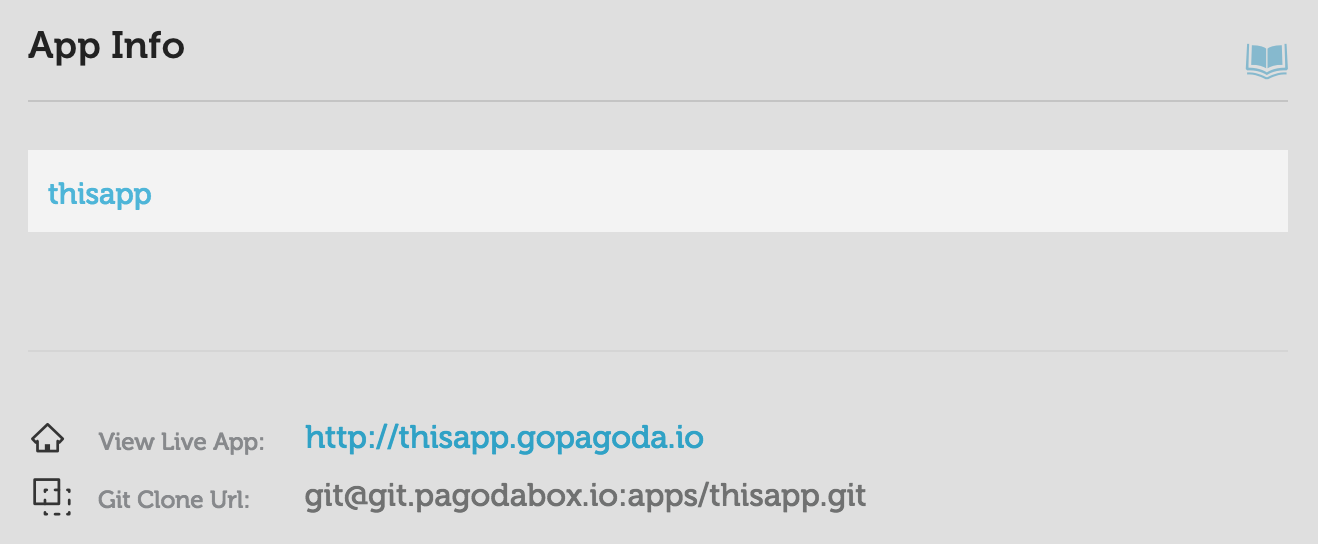
Once in that area, copy the “git Clone URL”.
Switch to SourceTree and click “New Repository”, then “Clone from URL”.
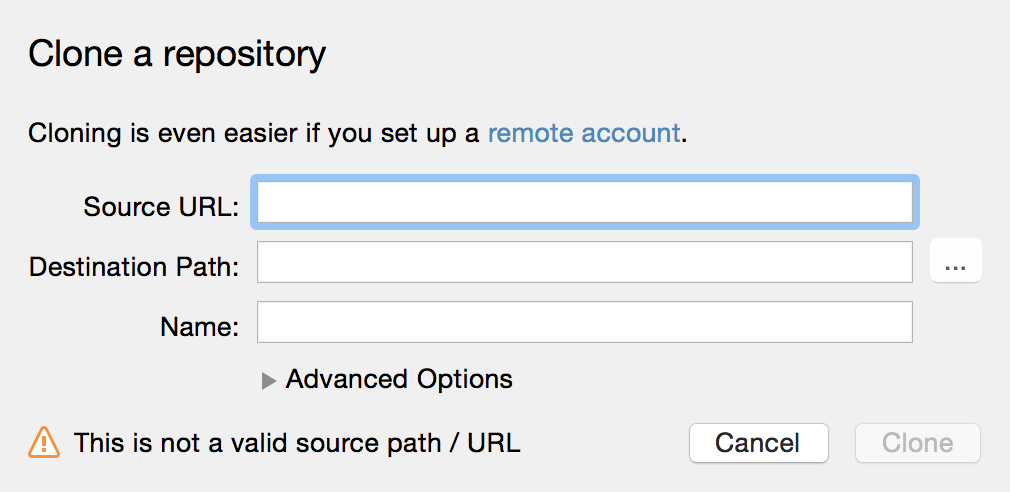
If your keys are set correctly, after you paste the URL into the box, it will say “This is a Git repository”. Set your location of the empty folder that will be created for the project (we are going to move the wordpress files in after).
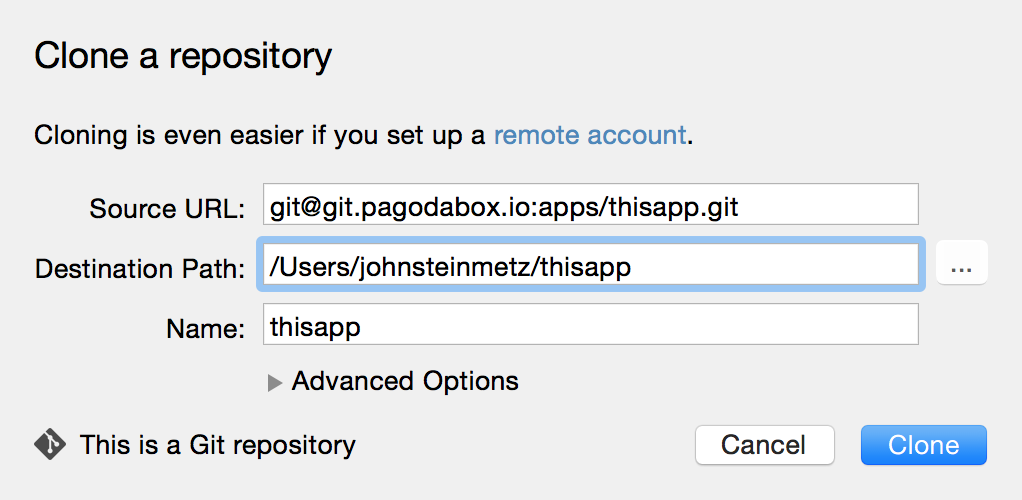
Click “Clone”. It will open up the SourceTree project.
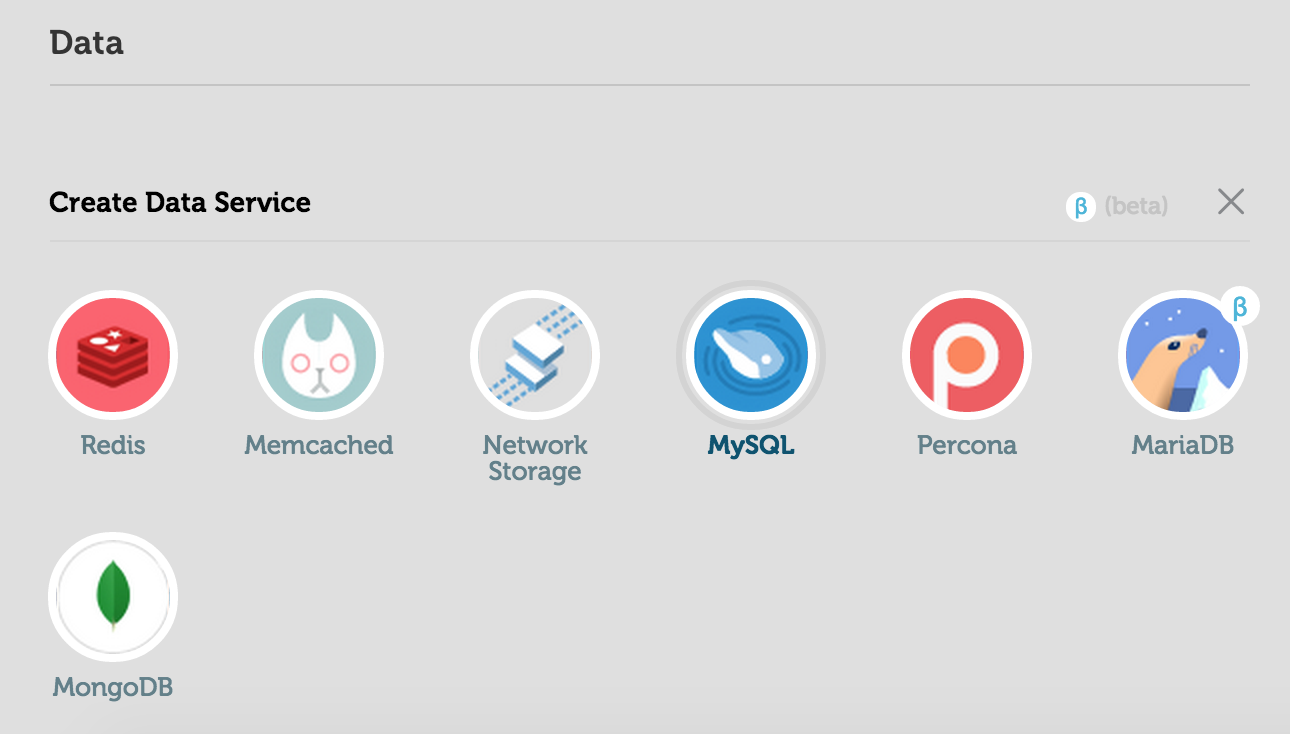
Create MySQL database
In the app home screen in Pagodabox, add a new data service, select MySQL.
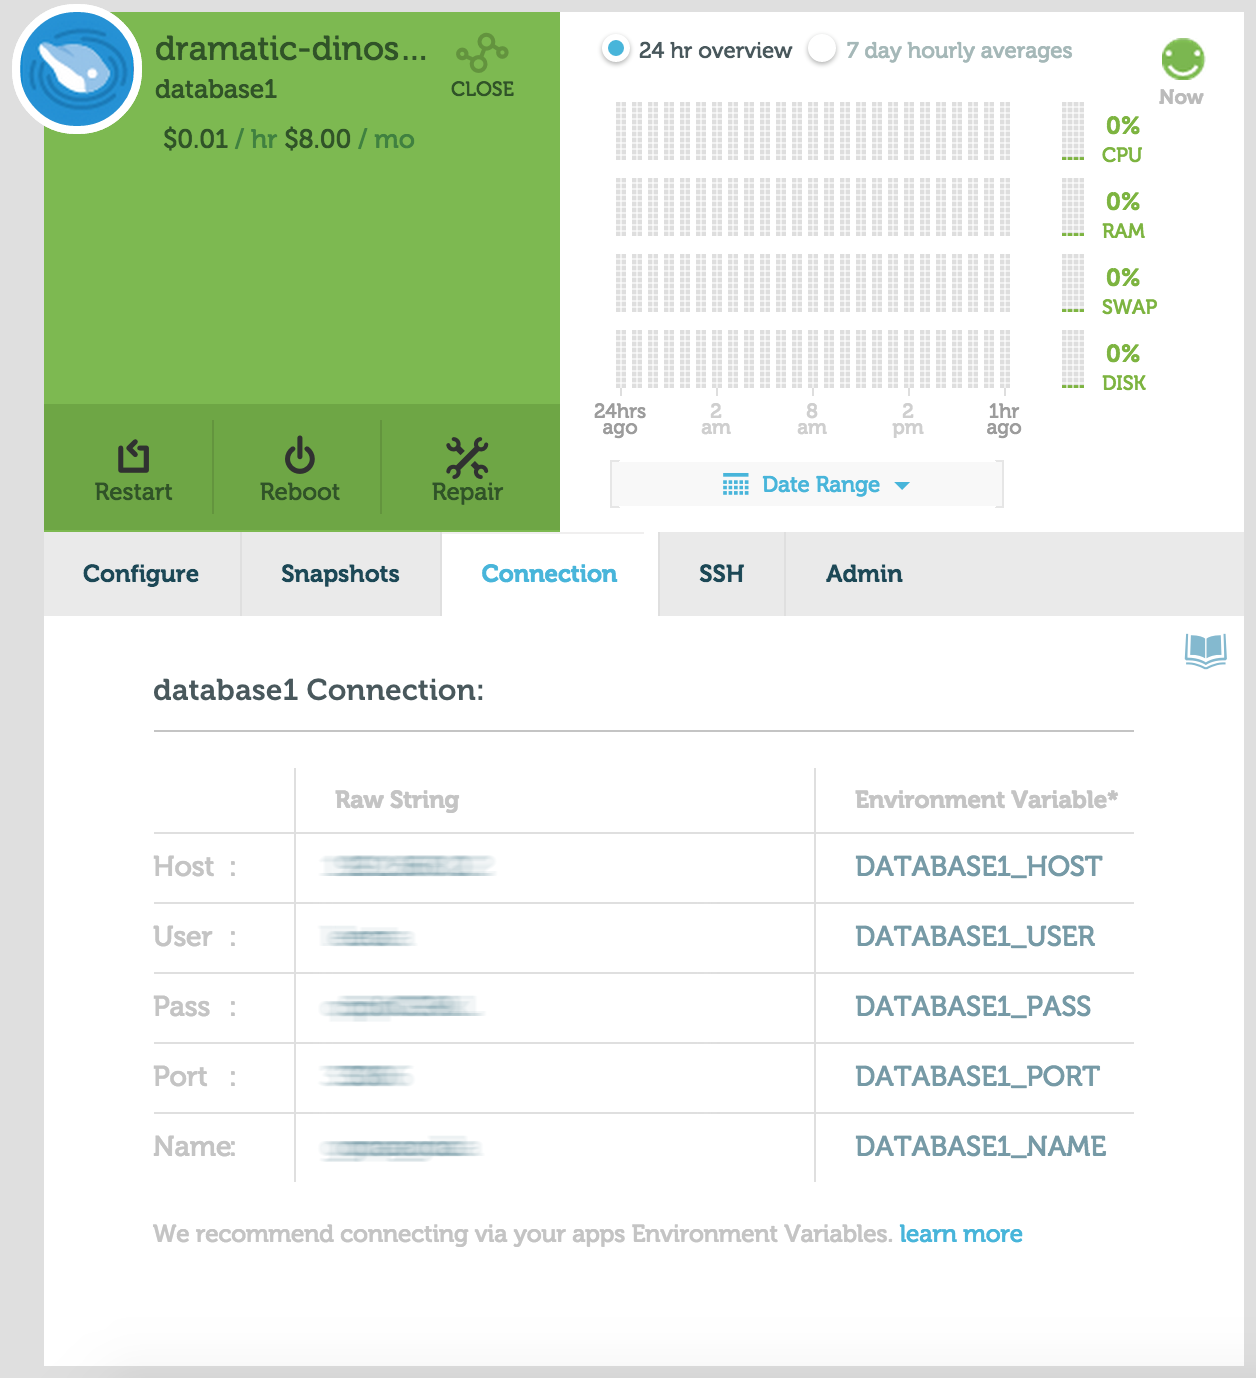
Leave the name blank and add the service. It will take about 3-6 minutes to launch the service. Once created, click on the service and select the “Connection” tab. Copy all of these environment variables, you will need them for your WordPress install.
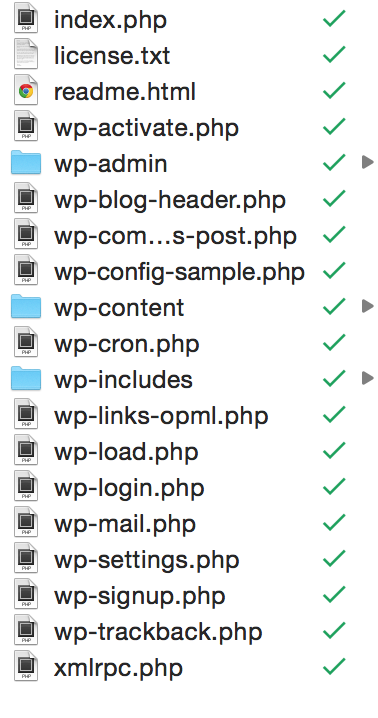
Install WordPress Files
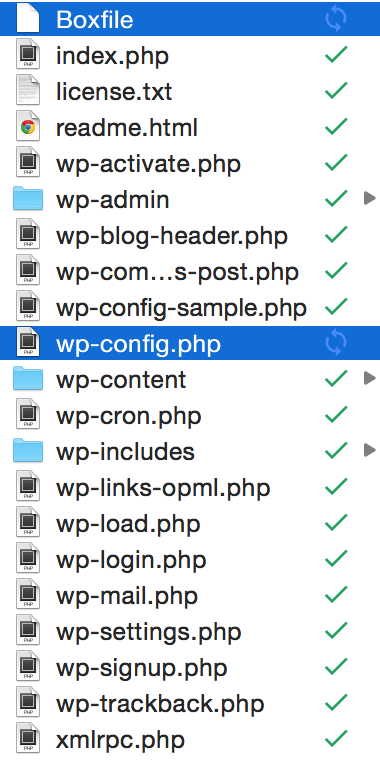
Unzip the WordPress files into the folder you created for the project. Once you do that, you will see the following in the project folder.
The next thing you need are these two files. A wp-config.php file that is specific to pagodabox and a pagodabox Boxfile. Both are needed to run a WordPress site on Pagodabox. Both should be put in the root of the project. It should look like this…
Once you get those files together in the project, go back to SourceTree and now see all the files waiting to be committed. Stage the files and check the box for “Push changes immediately to remote server”.
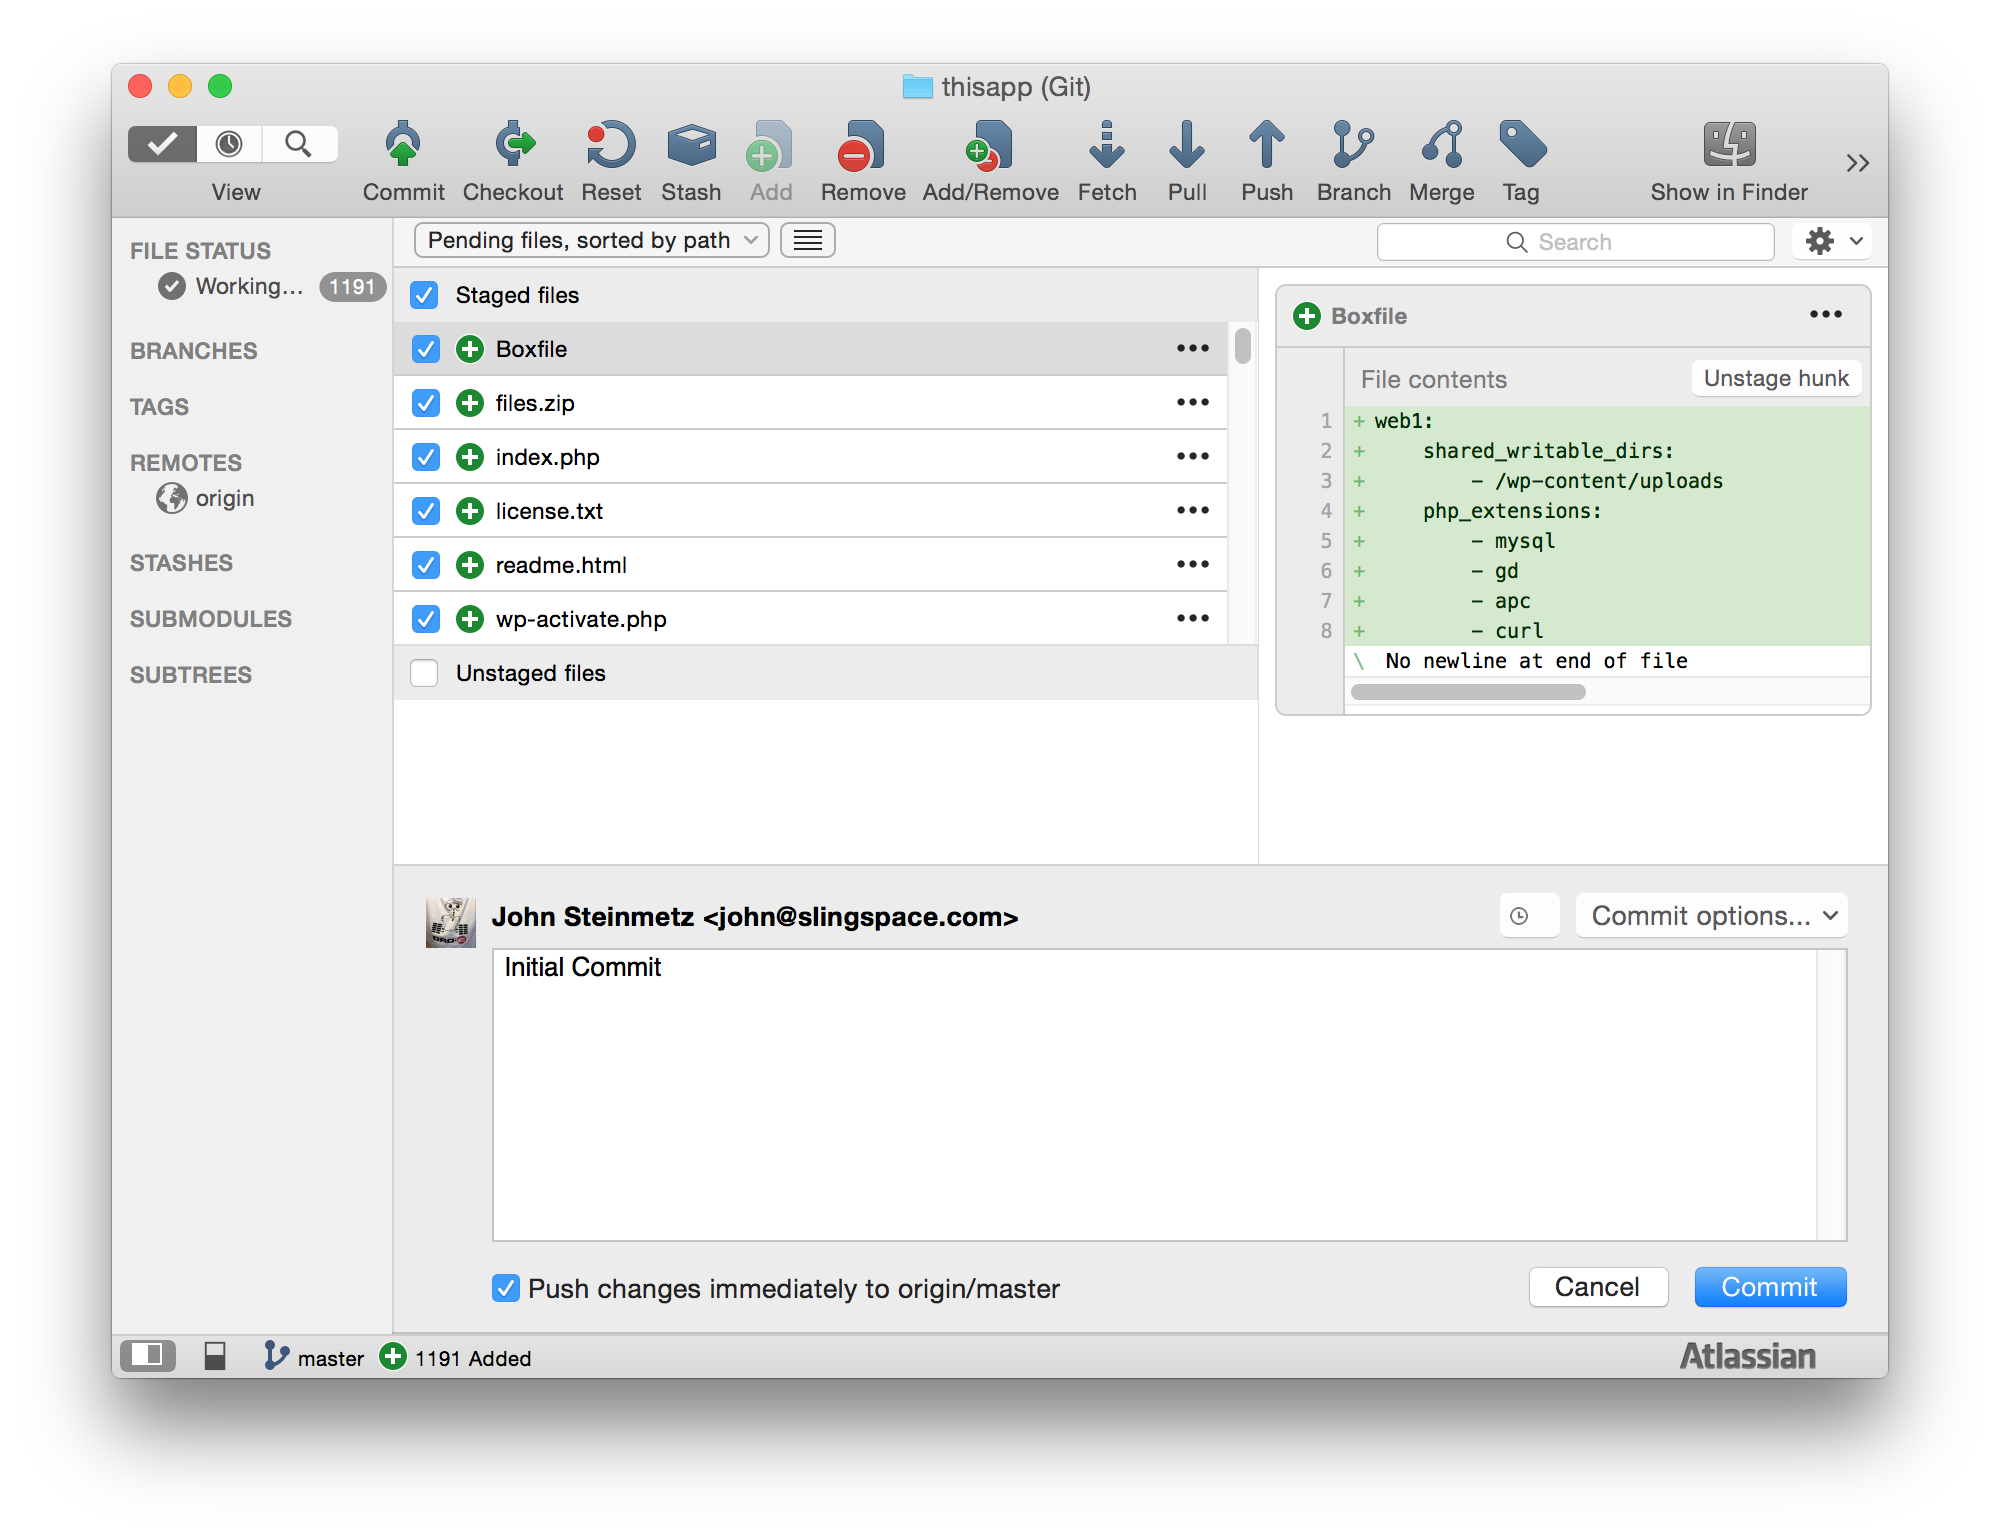
Once you click submit, it will push the files and trigger the pagodabox deploy system. It usually takes 5-6 minutes to go through.
Configure WordPress
Hit your live URL and it should prompt you to complete the wordpress install.
Add Themes
Any theme can be now added for a full completed site. Using a site like themeforest.net you can have a theme installed in 2 minutes.
After these steps, I created the project in a live environment. See this project live here: http://thisapp.gopagoda.io/